Garden Wiring - Part 2
Note: Part 1 to follow once I've found the pics...
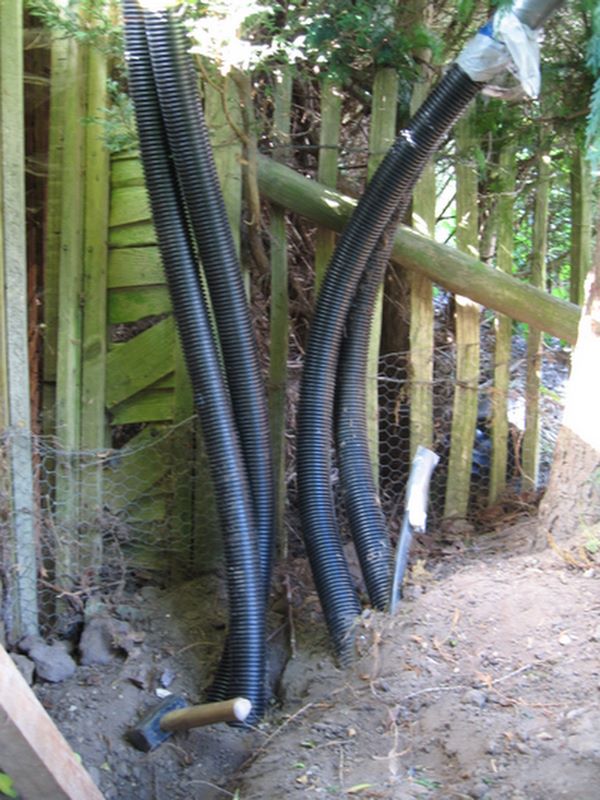
That's the ducting all in place, now for the enclosures at each corner.
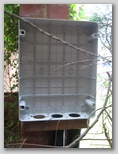
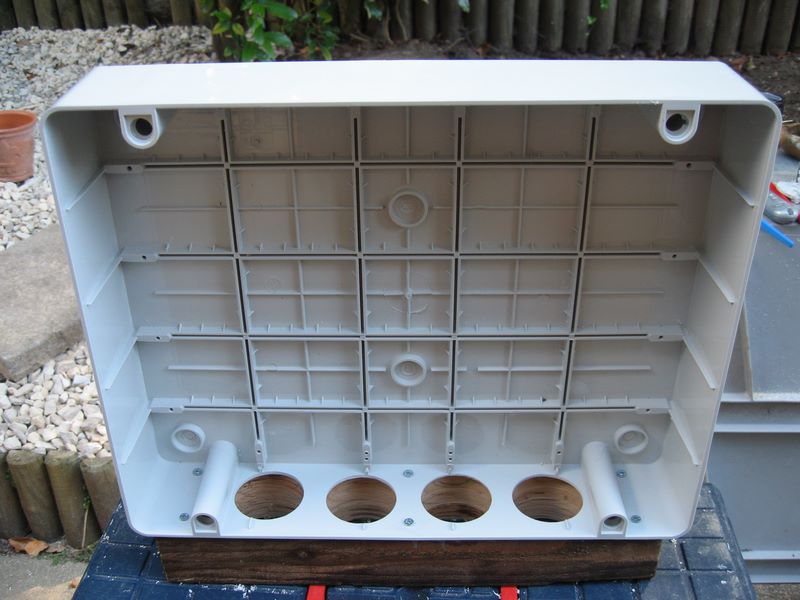
The junctions boxes are Gewiss (apparently pronounced "Gee-Whizz"), sized 380 x 300 x 120mm, are IP56 rated and came from TLC Direct.
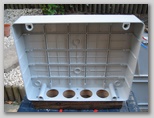
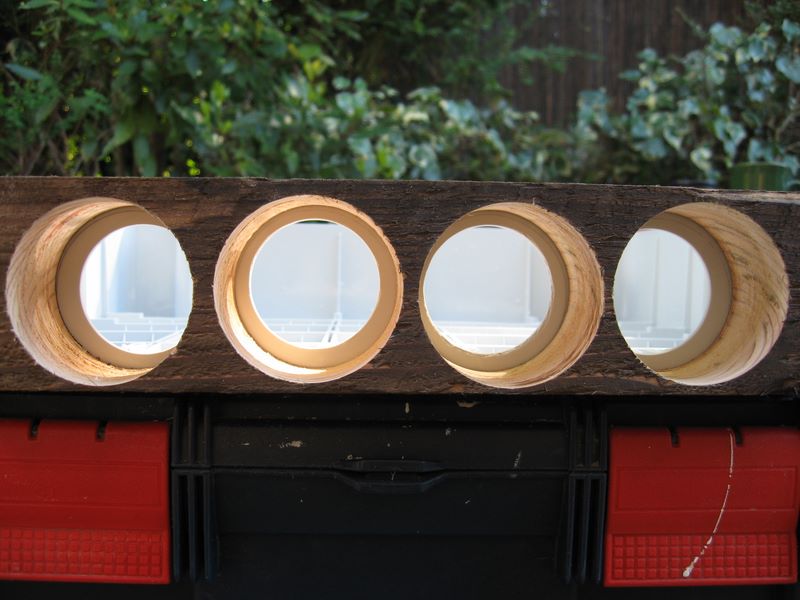
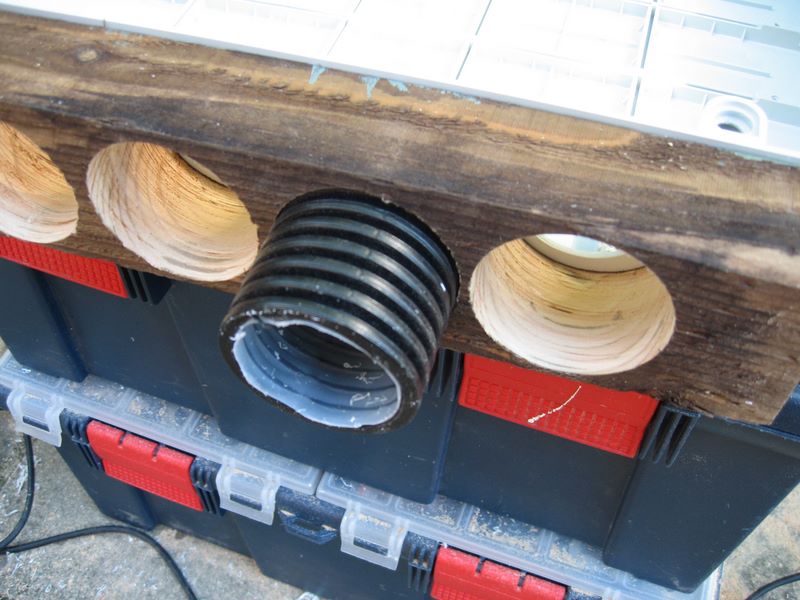
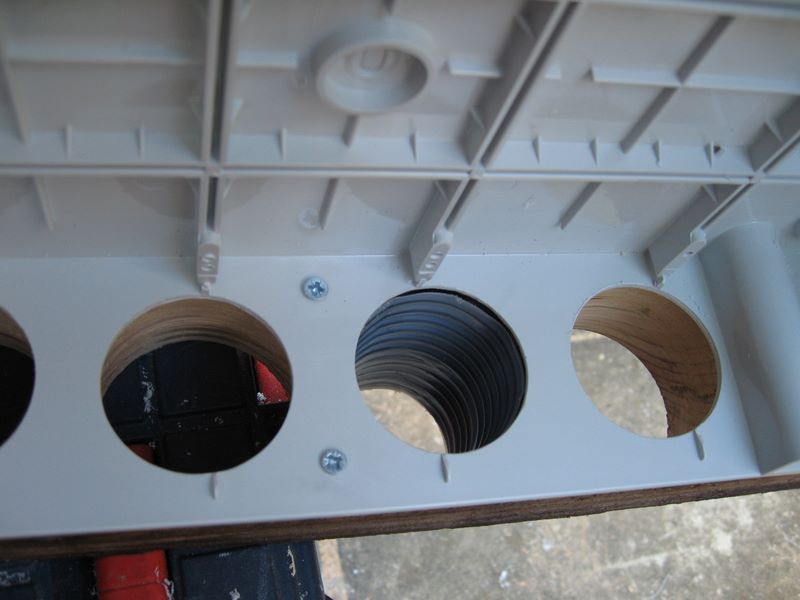
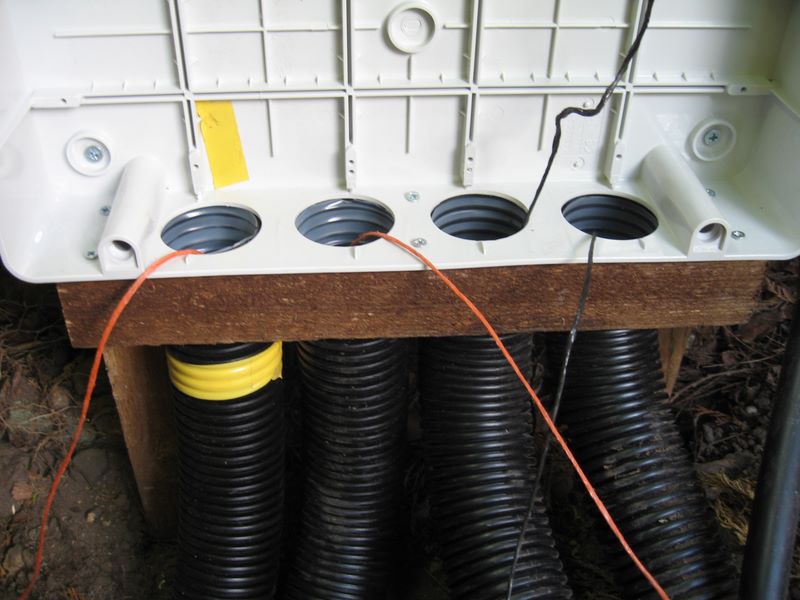
The biggest issue to overcome was how to seal the buried ducting into the boxes. I couldn't find any appropriate glands to accept the 63mm OD ducting, so I made my own. I fixed a thick block of wood to the bottom of the junction box and drilled a series of 64mm diameter holes all the way through. I then drilled 50mm diameter holes in the bottom of the box to line up with the larger ones in the block of wood.
The result is the ducting held snugly against the bottom of the box and there is a clear passage for cables to enter & leave.
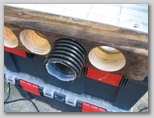
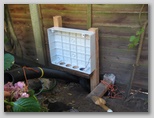
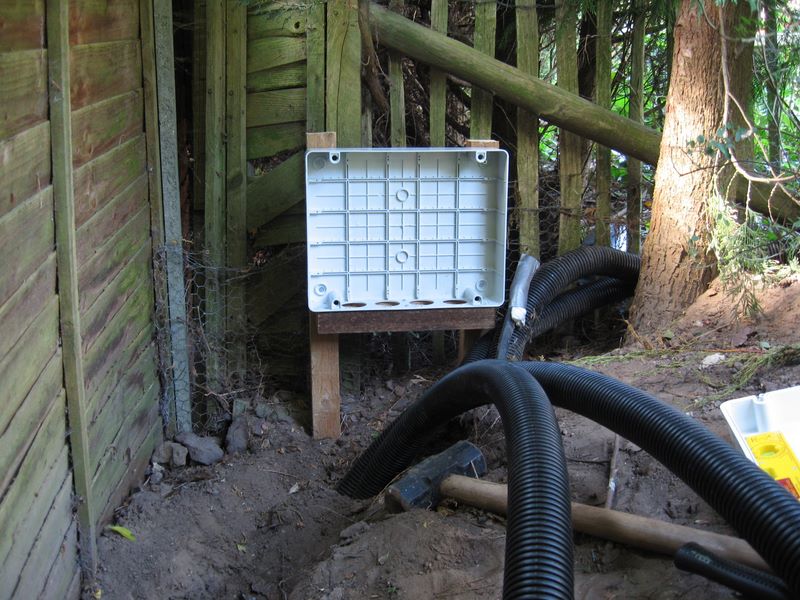
The next task was to install the boxes themselves and line up the ducting. Here's the first, with the two ducts on the right hand side going off to the next box, and the space on the left is for a future run to the front of the house.
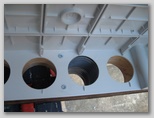
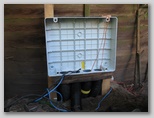
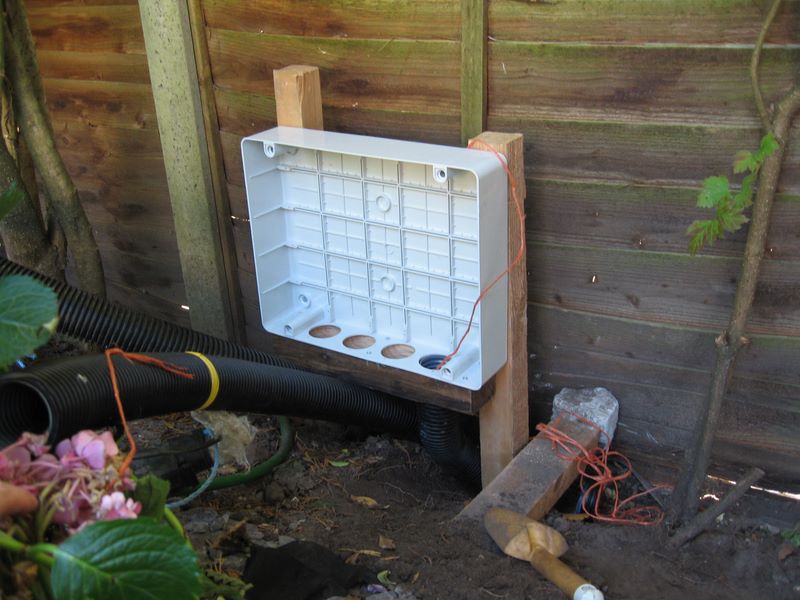
And the second box. The two ducts on the right being from the junction box above. The two left hand ducts go off to the third box.
The short pipe with the silver tape on top is an irrigation pipe buried alongside the electrical ducting.
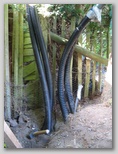
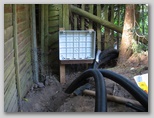
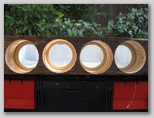
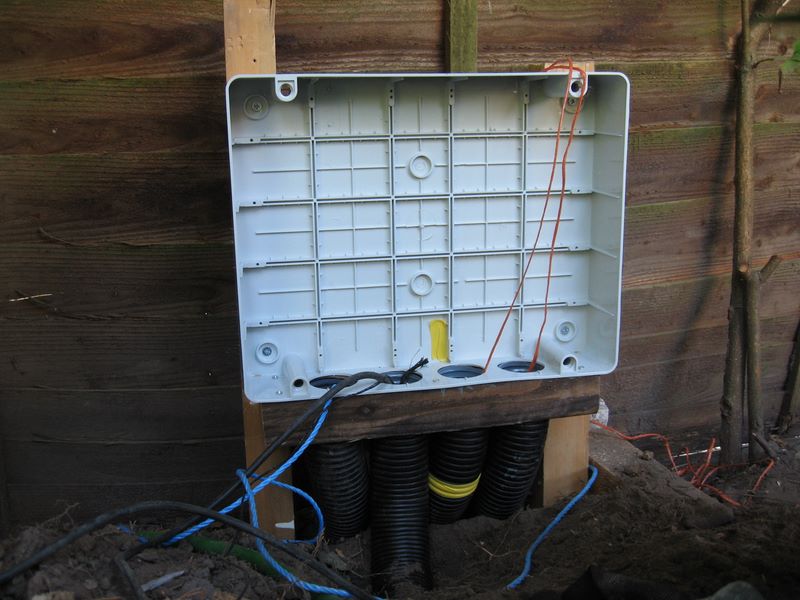
And the third junction box. The two incoming ducts are on the left, the duct third from left goes out to the pump for the stream, and the last duct runs off to the summer house.
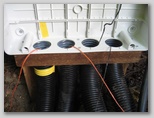
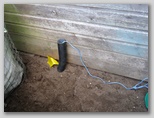
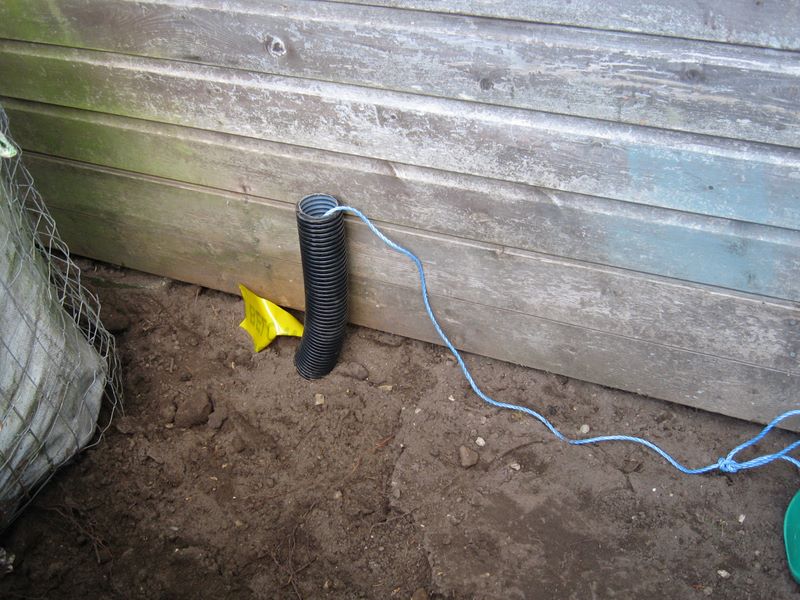
The final duct comes up at the back of the summer house and an old tumble drier vent outlet makes a great cover for the transition from outside to inside. Note the yellow marker tape still visible to identify the location of the ducts.
 (images to follow)
Top of page
© fircones.co.uk 2007

 (images to follow)